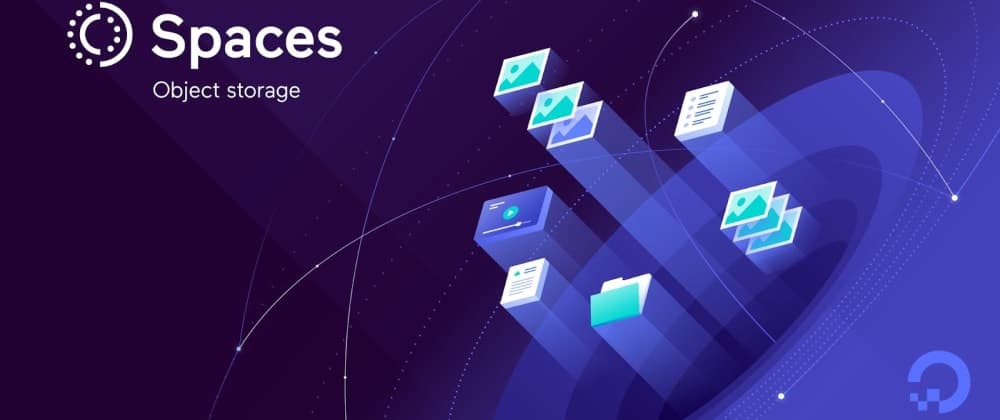
Building Animeccha - Using DigitalOcean Spaces
Have tinkered with JavaScript majorly | I like to solve problems on Stack Overflow, write blog articles, create a side project or do something creative.
Quick recap - App works in localhost, App deployed to Netlify but now App needs to be deployed on the App Platform. But before that we explore and use DigitalOcean spaces.
Why them ?
Well because my app works primarily on images and a lot of them are required at once !
Before that there are some changes that are needed to be done in our code.
Firstly till now, the images were part of the /public directory and so these became part of the /build and worked seamlessly with Netlify's LMS.
But now, we are going to shift to using DigitalOcean spaces for storing all our assets and that means we need to create a static server for local development as well.
For instance,
Prod url can be - https://awesome_prod.com/{bucket}
Dev url can be - http:localhost:8000
In 5 lines or so, we can easily create a static assets server using express and that's what I did. Now the assets and anime images were part of /data folder which is used by express and /public doesn't need to have them and so no more clogging our final build with images.
So back to our cloud side, after following the steps on the shared link above, I configured a New York bucket, enabled Edge CDN and enabled CORS for my currently deployed app url.
And now the moment of truth was to test it in production !!! Remember my site is still deployed at Netlify but my assets are in DigitalOcean Space.
So we push these changes and yes it works!!

But yeah the speed for fetching 500 images in one go is almost 30 seconds now which was around 10-20 seconds with Netlify's LMS with image transformation.
But if you remove image transformation from the picture, it took 40 - 50 seconds from Netlify's LMS.
That means for the same image resolutions, we are already better in speed and just need to solve the image transformation problem.

And I am so glad I came across imagekit.io. They are Image CDN provider with image optimizations along with workflows to either integrate external storage or use the one provided by them.
And the best part is that they support DigitalOcean Space in their external storage.
So now, it was time to create a new account at Imagekit.io and they give you 20gb per month for free !! (Even this isn't much for my use case but man I appreciate this a lot !!!!!)
After following the steps mentioned here and exchanging an email with the founder, I was able to get the imagekit CDN hook up to my DigitalOcean Space.
And man you would be blown away with the types of optimisations and transformations that they provide.

It's a lot of options really. But for simplicity sake, I opted for image optimisation based on requesting device - desktop or mobile. So you can enter the resolution you want to support on each and the rest is handled by them. I might experiment further if time permits !!
Last step is to just point to imagekit CDN instead directly to DigitalOcean spaces and the first time the load happened I was like :-

The load time reduced to almost 10 seconds !!!! At least in India, this would be good since I chose their Mumbai data center. But since they say it's a global CDN, I am expecting it to work well 🤞.
So we have solved the problem of storage and speed and the last thing left to do is deployment on the App Platform. We would go through that in the next part 😁.